
Febuary 2020
250km/h, Under 250 Grams V2

This plane is a direct replacement of the version 1 plane which met an untimely demise, I was in general very happy with how the version 1 flew, but it was obvious I was reaching the limit of how fast I could push the airframe.
- The fuselage was too big and floppy causing increased wetted area and fluttering at high speed, this was because I was determined to build it from foam, a bad idea.
- The ESC was left outside the fuselage for cooling, however, it turned out that I didn’t have any cooling issues, so it was just creating extra drag.
- The wingspan was longer than it needed to be, on landing it was almost a glider; this is great for handling, but not for speed.
- It didn’t have FPV, this was a big one, it made it very hard to keep track of, hard to video, hard to analyse power consumption / RPM / speed.
The first change I made was to go with a 500mm wingspan, down from 600, this was an easy decision. I made the fuselage from lite balsa wood using the batteries as a former to keep the size to a minimum. All the electronics are the same, except the addition of a Runcam TX200 video transmitter and small FPV camera, and changing to a Matek F722 Flight controller that I put on a diet to reduce weight. I also ended up switching to a Xing 2207 2450kv motor, in search of a little bit more torque.
Most everything else is the same or very similar to the version 1, however, these small changes make a big difference.

3D printed wing ribs glued to the 6mm square carbon wing Spar

The wing spar and ribs glued to the wing skin on the bottom, I would like to say that the wood outer sections are to reduce weight such as in the Long Range FPV Plane V2.0, but it really wasn’t. This is the offcut from the 1m carbon tube that was used with the previous 600mm wing.

Matek F722 Wing that has been on a diet, inductors and SD card tray have been removed along with some ceramic capacitors. This is not ideal, but the board was already damaged, and I needed to lose weight.

Even more weight shaved off the Matek F722 wing, and the metal casing removed from the BN180 GPS and 30awg silicone wires soldered directly to the pads.
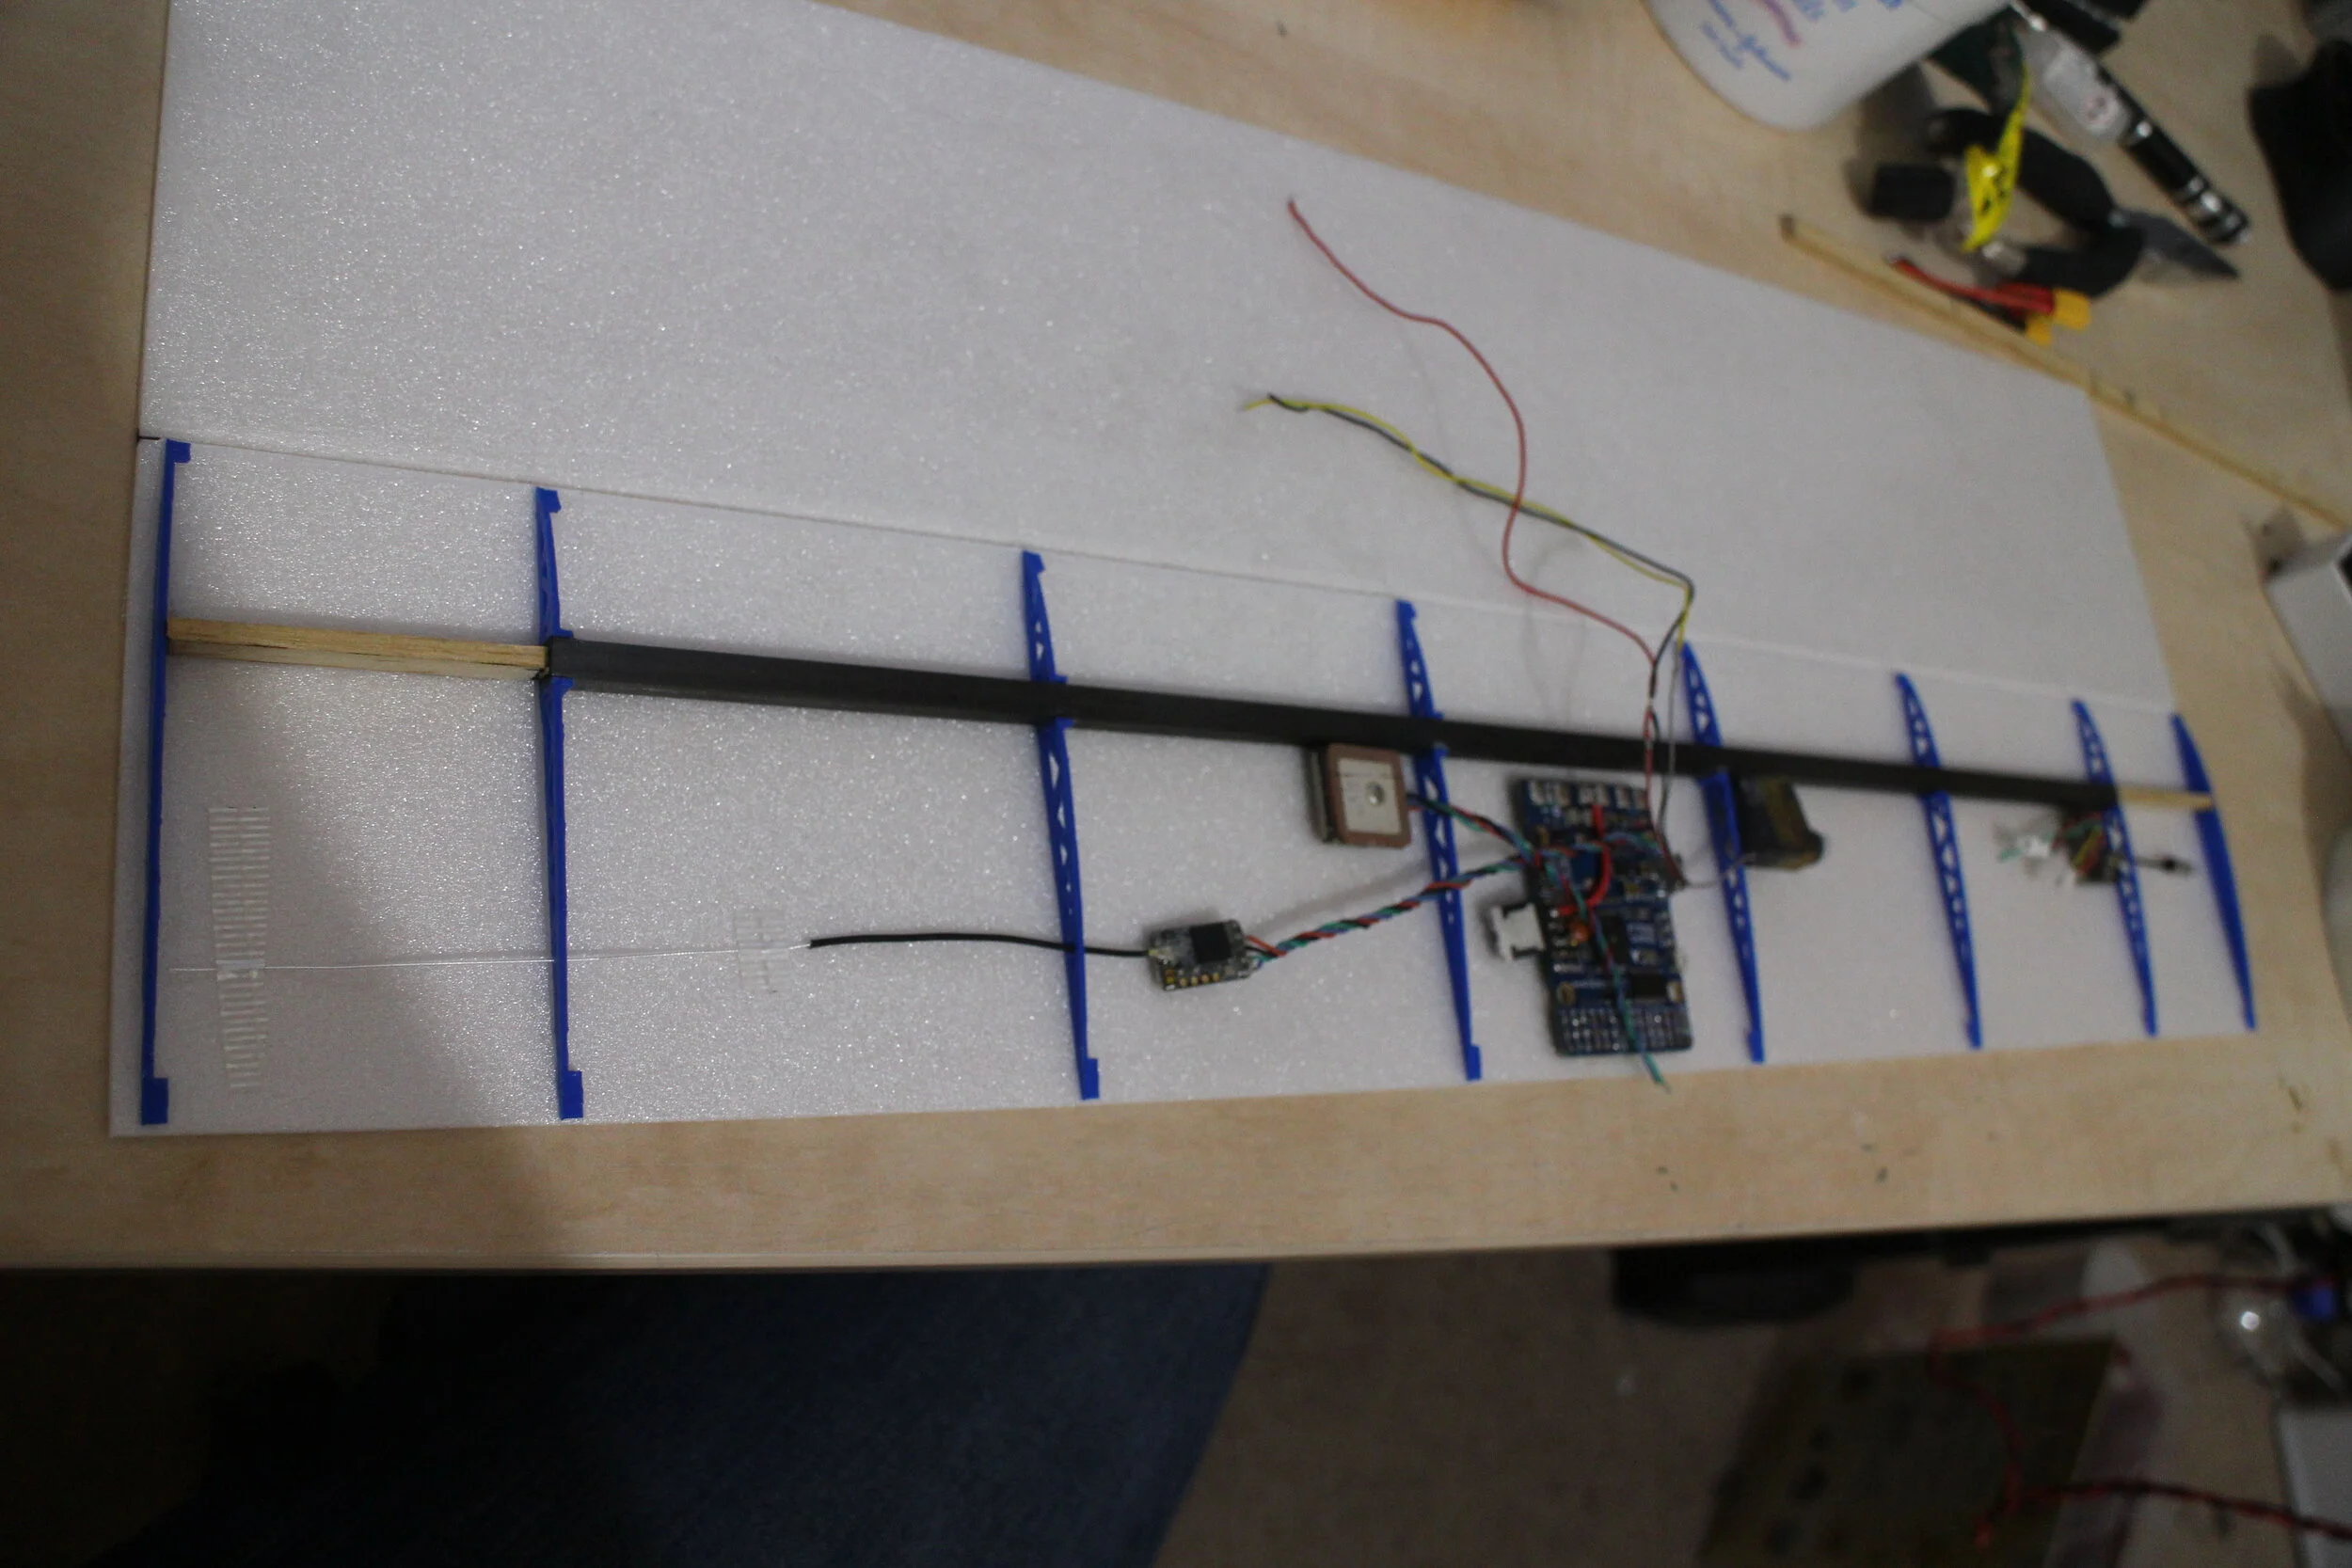
Starting to get the electronics in the wing. Notably, I’m using an R9 mini receiver with a very lightweight monopole antenna. the receiver with wires and antenna weighs 1.5 grams.

Runcam TX200U VTX Mounted in the wing.

3D printed template quickly drawn up to cut the sides of the fuselage.

Using the intended batteries as a template to ‘mold’ the fuselage around. Also, the 3D printed quick release motor mount. The fuselage is all 1/8th lite balsa.

Fuselage walls glued together, and ESC fitted and glued in place.

Adding a ‘ring’ of wood around the outside so that I can sand it back later.

Tail glued in Place, the horizontal tail was salvaged from the previous plane, and the vertical was my first ever laser cut part on my DIY laser cutter. Both 1/8th balsa


Battery, ESC and servo wires poking through the underside of the wing, ready to enter the fuselage.

All the internals of the wing done, and ready to fold over the top wing skin. Also, as with the Long Range FPV Planes, Gorilla Glue is being used along the leading edge for dent protection.

Wing skin folded over, this time I’m using 2mm Depron for my wing skin, with UHU Por used to hold the foam to the internal structure.

Underside of the wing. I had run out of 3M Blenderm Tape for the hinges, so for the time being I’m using duct tape.

Wing glued to the fuselage, slightly further back than V1, to aid in achieving CG

Underside of the plane with tail servo and linkage and wires being shown.

Batteries installed in the plane, showing just how tight the fuselage is around the batteries.

Fuselage underside sheeting in place, This is actually after the first day of flying, because I forgot to take a photo of it before that.

Plane all finished with the Xing Camo 2207 2450kv motor attached to the quick release mount.
Crash
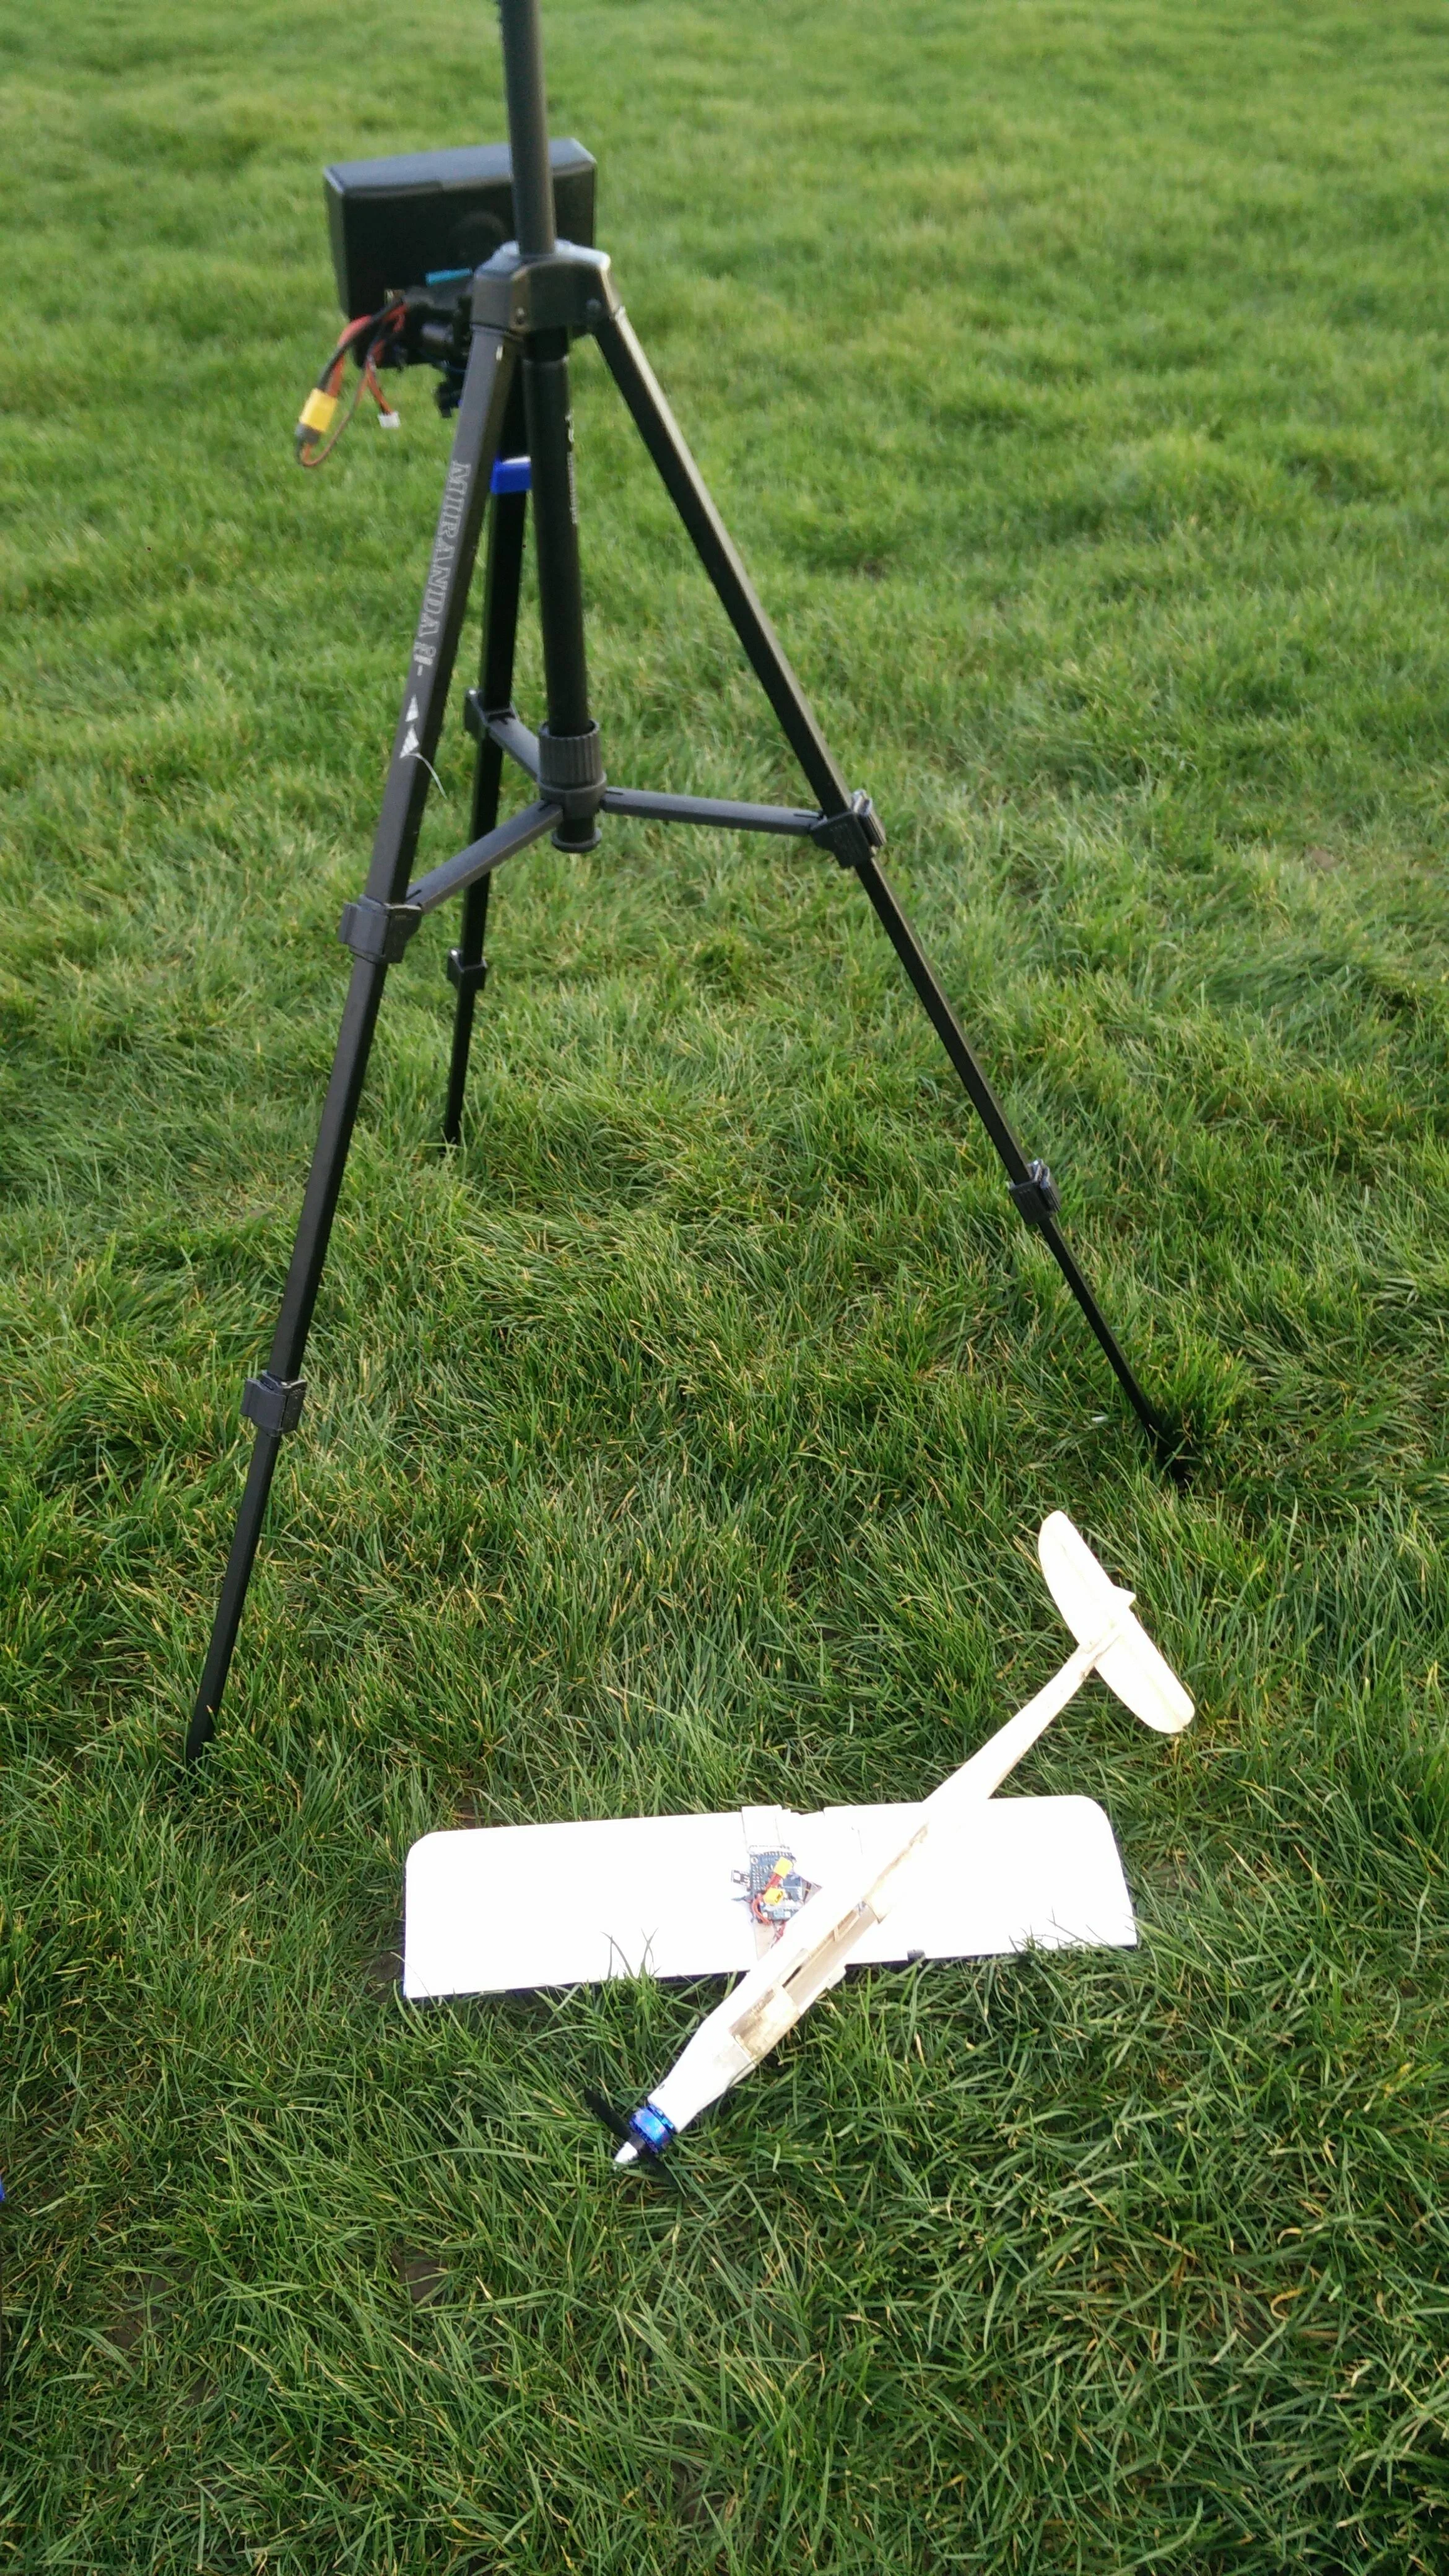
Unfortunately, the next flight this plane had a very minor and stupid crash, I was flying around just doing some shakedown testing, not going for any high speeds, everything was going great. I came in for landing all was fine and then I hit my tripod. I never even saw it with how bad the FPV camera was on the plane. This was a very minor crash at less than 25kph, but as the wing detached it broke the insulation on some of the wiring, sending - 30v to most of the electronics.
Complete rebuild time.
Version 2.5
So, all of the electronics in the wing were dead, and the wing had been ripped off. I decided to just make a whole new wing.
For the new wing, as always, I wanted to make some changes. For a start, the plane had more than enough lift at slow speeds with the 500mm wingspan, so I figured going to 400mm was the only natural progression. This seemed like a ridiculous idea, but I couldn’t think of any real reason why not. I also wasn’t happy with the way I had the flight controller and other electronics wired.
I decided that instead of having all the power go through the flight controller, I would measure current draw at the ESC, and then power all other electronics from just one of the two 4s batteries. This both reduces wiring, and, since I’m not running electronics rated for 6s on 8s batteries, it makes the plane more reliable. However, it also means that I will only be measuring the current used by the motor and I will be drawing more power from one of the batteries. Measuring the power used by the motor only is a positive and a negative, I will be getting more accurate readings for when trying to optimise the power system, but I won’t know exactly how much of the battery capacity has been used. Using more power from one of the batteries is something I would normally shy away from, because normally this would mean having an unbalanced battery, however, since this battery is made of two separate batteries which will both be charged independently, it’s not actually really a problem.
While I was at it, I also upgraded the camera to a Caddx Eos 2 and I changed the flight controller to a Matek F411 wing, since I needed a replacement and this one is cheaper and slightly lighter than my cut down F722 wing.

The Fuse and the old wing, ready to strip an still-working components to move over to the new wing.

The rough component layout for the new wing, for some reason this took a very long time trying to get the lateral balence right.

The new wiring scheme also saved 2.3g in wire weight.

The new wing all wired up ready to be closed. Note that all the wires from the fuse had to be connected to the wing before closing it up.

The finished plane, ready for its first flight in its new guise.
First Flights:
This is the third flight of the plane, it was immediately obvious that it was quicker with the reduced wingspan, so I immediately jumped to trying new props.
This is with an APC 4.75x5.5 prop, I thought this would be about right based on the static loads of the old gemfan 4045BN prop and the new APC 4.75x5.5 prop, and although it was faster, it wasn't efficient.
For an increase of about 12kph (5%) (over the new wing with the gemfan prop) I was drawing about 200w more (35%), for this increase in power I was looking for more like a 40kph increase in speed, at least. This is telling me that the motor has gone from being underloaded to be overloaded, so the sweet spot is somewhere in between. the next prop I try will most likely be a 4.75x4.75 APC prop, or maybe a 5x5 cut down to 4.5x5. Based on this flight, I would guess that would be around the right load.
More Modifications
I wasn’t happy with the motor mount of the plane and some other general bits and pieces with the fuse, so I set out to fix them.

The motor mount removed and the front of the fuse cleaned up as best I could get it.

I cut the 3d printed Polycarbonate motor mount off with a hack saw, and then removed the remainder with acetone.

Filling in various gaps around the plane with lightweight filler, and then sanding it back flush.

The new motor mount only weighs 6g and has a much better path for the air coming out of the motor. It does however sacrifice the quick release motor mount, and quite a bit of strength. This was printed out of Polycarbonate filament, 0.4mm thick walls and no infill. The old motor mount weighed 14g. This weight saving was what would allow all of the filler to be added.

The new motor mount shown, with the new ESC mounting position. Much better. You can also see here the much smoother transition from the fuse to the front of the wing, and from the motor mount to the fuse. Even the ESC has had some gaps around the less heat-generating components filled with the lightweight filler.

Shown here is the new transistion from the rear of the wing to the fuse.

New camera pod, this has a wedge of foam embedded in it to reduce the weight of the filler even further.

I’m really very happy with how the camera pod came out, Its a shame the lens is so big, but other than that, its pretty streamlined.

The final weight came in 2.7g under the 250g weight goal, that sounds to me like just enough weight spare to add some visibility-aiding colour!
First Flight With New Aero:
This Is the first flight after doing the aero mods. The flight went ok, but I was significantly down on power, I was somewhat expecting this to be the case, as I moved from a 4.75x5.5 prop to a 4.75x4.75 prop, however, I dropped more power than I was expecting to, and I also lost RPM, which I was expecting to increase.
That all points to the batteries, and the cell voltages were reasonably low, however, I've since tested the batteries I was using and I was able to draw 35a static from them as I would expect.
For now I'm just going to assume it was some random anomaly, and focus on the other problem that I had this flight, which was the right yawing, I can only assume that is being caused by the camera and single aileron both being on the right wing, and that I didn't notice it before because the old motor mount was accidentally offset slightly to the left. I'll sort this by sanding a slight left curve into the fin, and hope that’s enough.
I think the biggest take away from this is that even with only 50% power I only went 20kph slower (presumably due to the aero improvements), and I'm very happy that I can now be disappointed when I see '230kph' in the OSD :)
New Record
There aren’t really any offical records for under 250g speed planes, the most offical one is probably speedcroco in Germany, other than that they are mostly scattered about the internet, one good collection is on FPVlab Personal Bests V5 (LEADERBOARDS), but even that doesn’t cover some of the latest records, and it doesn’t cover any of the non-FPV records.
The records I am most interested in are in descending order:
Fastest FPV aircraft - This is currently held by OMEGOOLIEBIRD with a heavily modified Vasa Models Fusion (aprox 4kg weight) at 425kph GPS one way, this is much higher than I am ever likely to reach under 250g, but its a nice thought.
Fastest under 250g aircraft - this is currently held by ‘Sascha’ with his all-carbon shrunk-down NanoBlade at 292kph with a 2 way average of a 200m course. This is becoming more and more within reach everyday, I hope to be breaking this soon.
Fastest under 250g FPV aircraft - there is not so much documentation on this, but, the fastest I have found seems to be Jesse Stroup at 262kph GPS one way with a Nano Goblin, however, this plane doesnt actually weigh under 250g, it weighs ~400g. This is however one of the fastest small models around, and it is a very highly contested record, so if the fastest one weighs 400g and can go 262kph, I’m willing to bet that nobody else has gone faster than that under 250g. To back this up, there are many other claimed ‘records’ from the last 2-3 years for FPV under 250g, and they are all around the 170-210kph mark, with quite a few being multicopters, and they are all GPS one way.
I hit 329kph groundspeed, and 267kph 2 way average.
This is faster than any record I have been able to find for FPV under 250g, and is potentially the fastest groundspeed under 250g.
I also catagorically beat my aim of 250kph under 250g
This was a very good combination.
According to the onboard RPM meter, I reached a pitch speed of ~ 270kph, so reaching 267kph shows that I had more thrust than I needed, since the sweet spot for pitch speed is between 110-120% of your airspeed, as I understand it. However, the RPM was perfect for this motor on 8s, so I want to try and keep the same load on upcoming flights.
Ultimately, I did 2 runs in each direction, and my best was 329kph downwind and 204kph upwind for an average of 267kph. The downwind run was in a slight dive, 5* according to the data logs, and still accelerating when I reached the edge of my flight site. The upwind leg was completely flat and level.
It was a very windy day, hence the massive difference between upwind and downwind speeds, but this made launches and landings easier, so it was welcome.
It also helped me reach an absurdly high groundspeed of 329kph (204mph), at least for a plane under 250g.
Continued Tests and retirement
This is a comparison video of a few different passes that I did with an APC 5x5 prop cut down to 4" vs a 5.25x6.25 prop cut down to 3.4".
Overall, they performed very similarly in terms of the data recorded, which is very interesting considering how different of a prop they are. at ~260kph they seem to put about the same load on the motor, and produce about the same thrust, however, presumably, they are producing that thrust in different ways. The 3.4x6.25 prop should be making a smaller column of air moving faster, compared to the 4x5 prop.
For this reason, I believe that with a more aerodynamic plane (which should be ready for flight soon) the 3.4x6.25 prop will be significantly better.
I beleive that this power system has a lot more left in it yet, hence the retirement of the plane (at least in terms of record runs).
Version 3 will be coming very soon, and 292+kph will be the goal.